
Just like in Windows 10, Windows 11 includes a built-in option to automatically remove old files from your Downloads folder — a useful way to keep your PC clean and organised.
If you often download documents, installers, or media from the internet, your Downloads folder can fill up quickly. Manually deleting each file can become time-consuming, but Windows 11’s Storage Sense feature can handle it for you automatically.
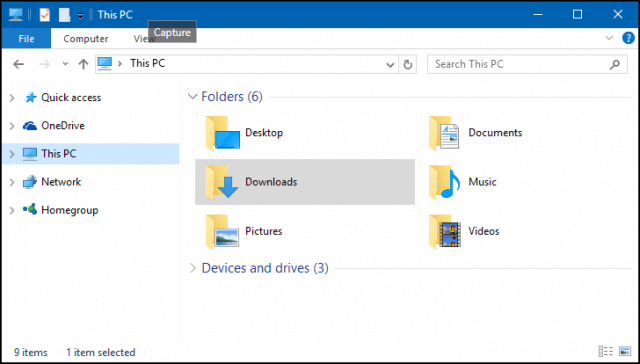
By default, anything you download is saved in the Downloads folder — usually located in File Explorer under This PC > Downloads, or directly at C:\Users\[YourUsername]\Downloads.
With Storage Sense, Windows can periodically delete temporary files and old downloads after a period you choose. Once turned on, it quietly keeps your storage tidy without any extra work from you.
Auto Delete Downloads Folder Windows 11
Here’s how to enable automatic deletion of files in the download folder in Windows 11:
1. Open the Settings app and go to System > Storage
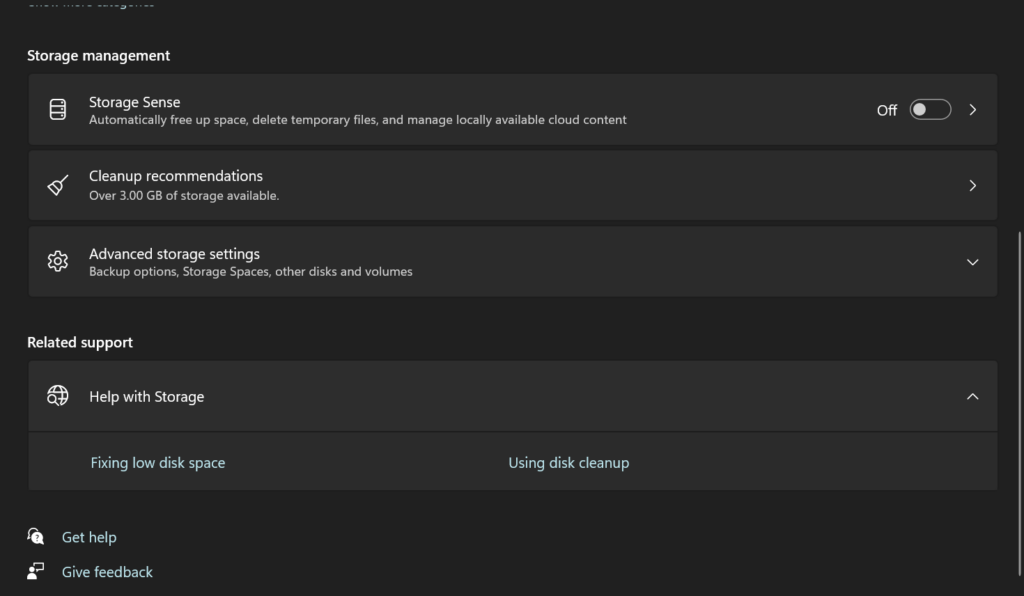
2. Under the “Storage Sense” section, click the “Configure Storage Sense or run it now” option
3. Check the box for “Delete files in my Downloads folder if they have been there for over X days.”
4. Choose how many days you want Windows to wait before clearing old downloaded files
That’s it! With those steps, you’ve now enabled Storage Sense to routinely empty your downloads folder in Windows 11, saving you the hassle of manually maintaining it yourself. Microsoft recommends the 30-day setting.
Manually Deleting Downloads Folder Contents
If you prefer to manually clear out your downloads folder instead of using the automatic Storage Sense option, Windows 11 provides a quick way to select and remove all the files simultaneously.
To manually empty the downloads folder:
1. Open File Explorer and navigate to the Downloads folder
2. Press the “Ctrl + A” keyboard shortcut in the folder. This will select all files and folders.
3. With everything selected, hit the “Delete” key on your keyboard.
4. Confirm that you want to delete the selected items permanently.
And just like that, your entire downloads folder will be emptied with a few simple clicks and keystrokes! This manual process can be helpful if you want to review and selectively keep specific downloaded files before clearing out the rest.
It’s a good idea to clean out your downloads folder periodically as the files can accumulate over time. But before deleting everything, make sure to move or copy any critically downloaded items you need to keep to another location on your PC.
Clearing out your downloads folder helps free up disk space and eliminates clutter. It also makes locating and identifying any newly downloaded files easier since they won’t be mixed among many old existing downloads.
Whether using automatic cleaning or the manual method, keeping your downloads folder tidy is an easy way to maintain better organisation on your Windows 11 PC.