
For many Windows users, linking their Microsoft account to their operating system provides a convenient way to sync settings, data, and apps across multiple devices. However, there may come a time when you want to unlink or remove your Microsoft account from your Windows installation for privacy reasons, to switch to a local account, or to troubleshoot specific issues.
Unlinking a Microsoft account from Windows is a straightforward process, but the steps may vary slightly depending on your version of Windows. Whether you’re using Windows 10 or 11, this guide will walk you through the steps to securely and effectively unlink your Microsoft account, allowing you to regain control over your data and settings.
Unlink Your Microsoft Account from Windows and Switch to a Local Account
Before making any changes, it’s essential to ensure that you have administrative access to your Windows device. Additionally, gather any necessary passwords or backup information for your Microsoft account, as you’ll be required to sign in again after unlinking.
1. Begin by opening the Settings app on your Windows device. You can do this by clicking on the Start menu and selecting the Settings icon (shaped like a gear).
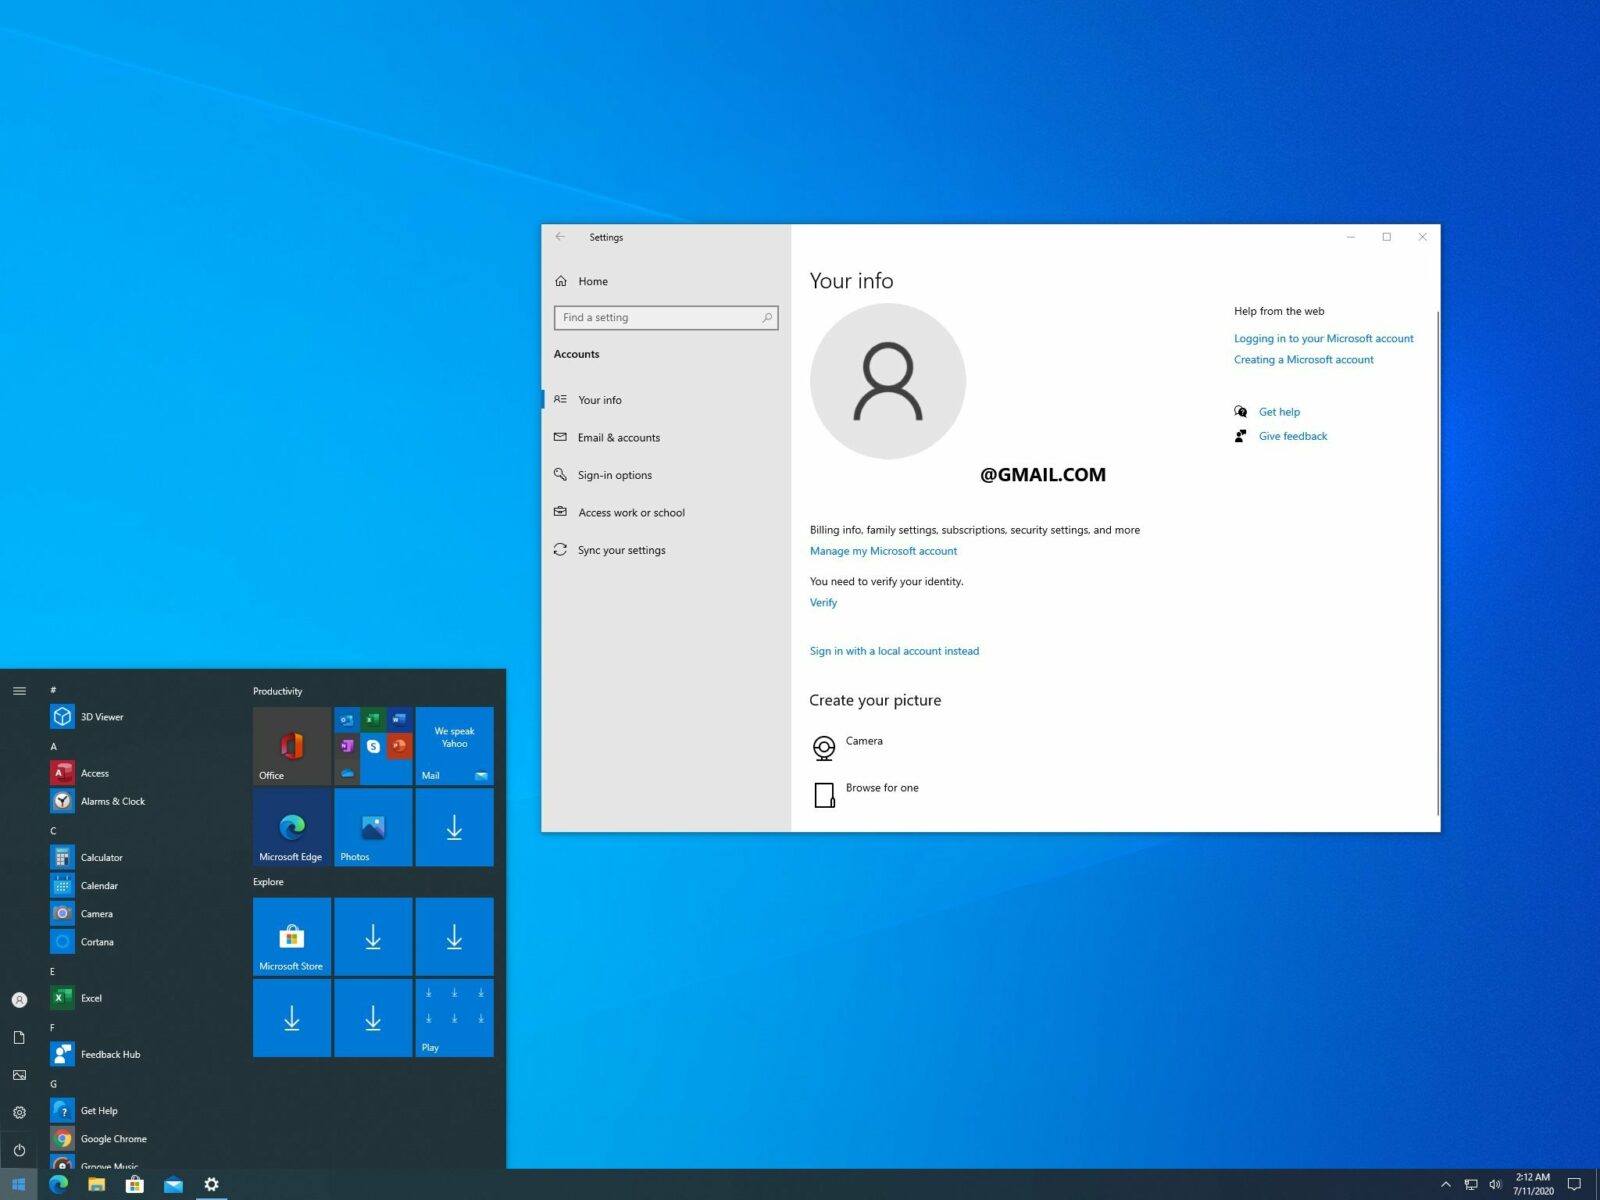
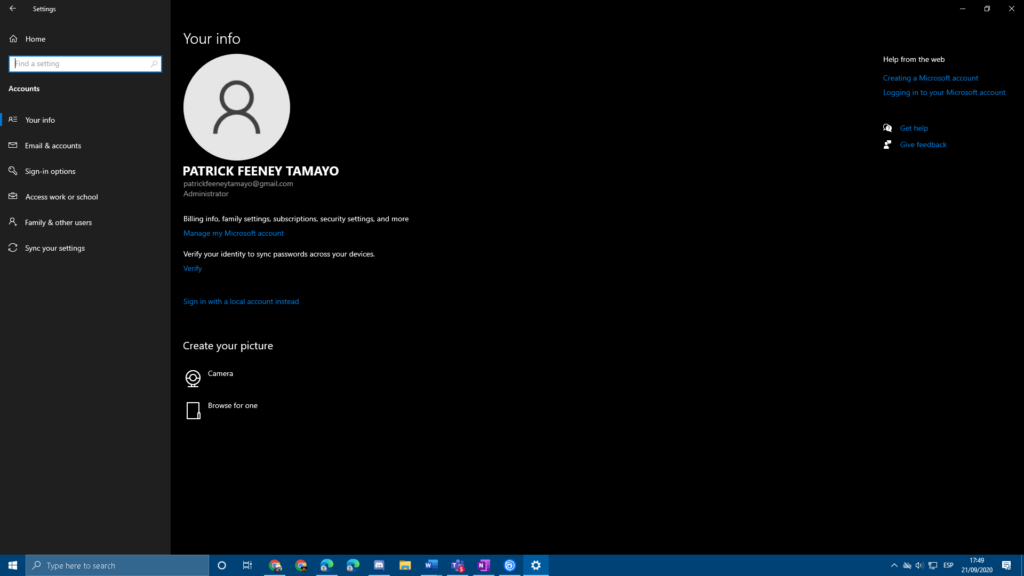
2. Within the Settings app, locate the “Accounts” section. Click on it to access various account-related settings.
3. Under the “Accounts” section, you’ll find options for your Microsoft account and any additional accounts linked to your device. Click on the option that corresponds to your Microsoft account.
4. Once you’ve selected your Microsoft account, you can “Sign in with a local account instead.” Click on this option to begin the process of unlinking your Microsoft account.
5. Windows will prompt you to confirm your identity by entering your current Microsoft account password. This step is necessary to ensure the security of your account.
6. After confirming your identity, you’ll be prompted to create a new local account. Enter a username, password, and password hint for your local account. It’s advisable to choose a solid password to enhance security.
7. You can migrate your data from your Microsoft account to your new local account. Windows will provide instructions and options for transferring files, contacts, and other data associated with your Microsoft account.
8. Once you’ve created a local account, Windows will sign you out automatically. Sign back in using your new local account credentials to apply the changes.
9. Upon signing in with your new local account, take a moment to verify that your settings and preferences have been transferred correctly. You may need to adjust certain configurations, such as desktop backgrounds or application settings, to match your preferences.
It’s important to note that unlinking your Microsoft account does not delete or remove your data or files from your computer. Instead, it simply disconnects your Windows installation from the associated Microsoft account, preventing further synchronisation or data sharing.
Additionally, suppose you plan to continue using certain Microsoft services or applications, such as Office or OneDrive. In that case, you may need to sign in with your Microsoft account separately for those services.
Following the step-by-step instructions in this article, you’ll learn how to navigate the various settings menus and options to successfully unlink your Microsoft account, allowing you to switch to a local account or maintain greater control over your personal information.